Refrigerator Repair · Edmonds
How a Refrigerant Leak Is Actually Found
How a technician finds a refrigerant leak in a built-in Sub-Zero: what the gauges show, where leaks hide, and how the exact spot is pinpointed.
By Dean Halvorsen Refrigeration technician — sealed systems and airflow · 19 years in the trade EPA Section 608 certified
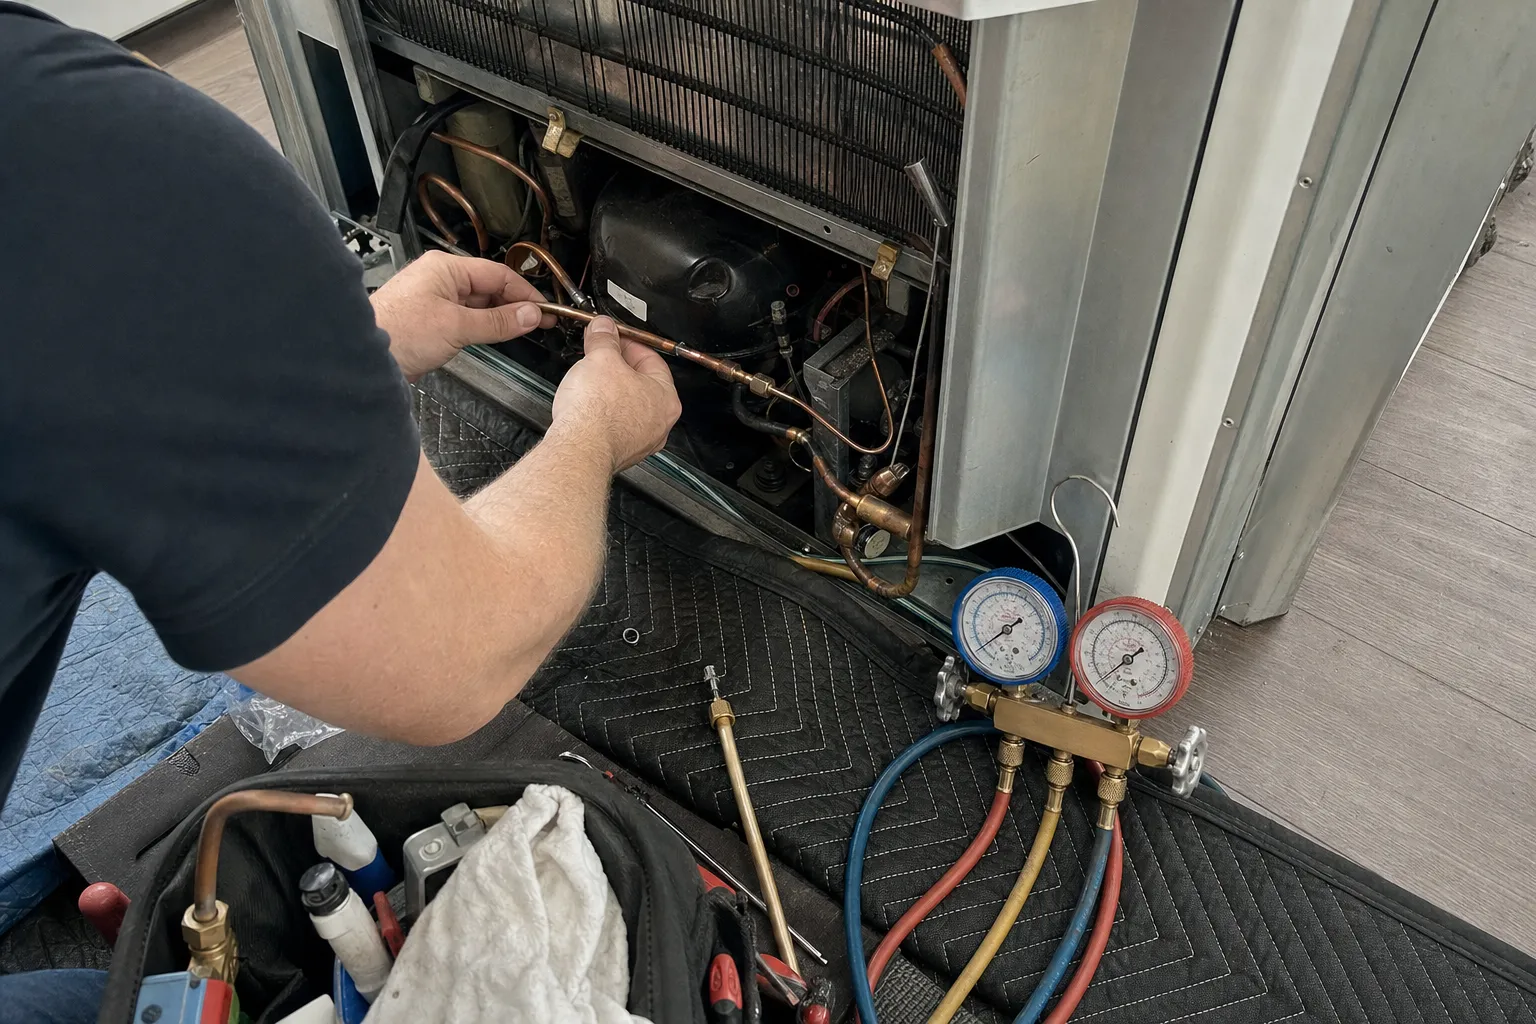
A refrigerant leak is almost never something you can see from the kitchen. What you notice is a unit that gives up a little more ground each week. What the technician has to do is two separate jobs: prove that refrigerant really has escaped, and then find the exact point where it is getting out.
Here is how both jobs are done on a built-in Sub-Zero, in the order they happen, and where you, the owner, come in.
Proving it is a leak before hunting for one
Warmth on its own does not mean refrigerant. A stalled fan, a coil packed with ice, a door that no longer seals or a dusty condenser can each leave a section warm with the refrigerant untouched. Sub-Zero’s service manuals rule all of those out first. Only when the mechanical and electrical checks have failed to explain the warmth does the technician enter the sealed system (the compressor, the coils and the tubing that hold the refrigerant in a closed loop) to read its pressures.
The gauges read two sides at once: the low side, where cold refrigerant returns to the compressor, and the high side, where it leaves hot. Sub-Zero’s table reads the pair together:
- Both low: the charge is short, and a short charge means a leak.
- Low side low, high side high: a restriction, something partly blocking the flow.
- Low side high, high side low: a compressor that no longer pumps as it should.
- Both high: too much refrigerant in the system.
- Both normal: the sealed system is fine, and the fault is mechanical after all.
No single number settles it. The manual lists what moves the readings: the room temperature, the settings, the food load, how clean the condenser is and whether one or both systems are running. A technician reads the gauges against the kitchen as it is that day.
The firmest proof comes later, during the repair itself. On the built-ins its service manual illustrates, Sub-Zero’s serial tag lists the refrigerant charge for each section, and weighing what is recovered against that figure is the surest confirmation that the system had run short.
Opening the system without adding a leak
A sealed system has to be opened before its pressures can be read at all. Sub-Zero’s instruction here is specific: always use solder-on process valves (small access fittings joined to the tubing with solder), and never bolt-on ones, which it warns are prone to leak. That is the difference between finding a leak and quietly adding the next one.
The same warning tells a technician where to look first on a unit that has been worked on before: at any fitting an earlier repair left on the tubing.
Where leaks hide
Oil circulates with the refrigerant, and when refrigerant escapes, a little oil goes with it. That is the best clue a technician’s eyes have: an oily film, or a patch of tubing that looks dull and damp instead of clean, often with dust stuck to it. Joints come first, because they are where the tubing was brazed and where hands have been.
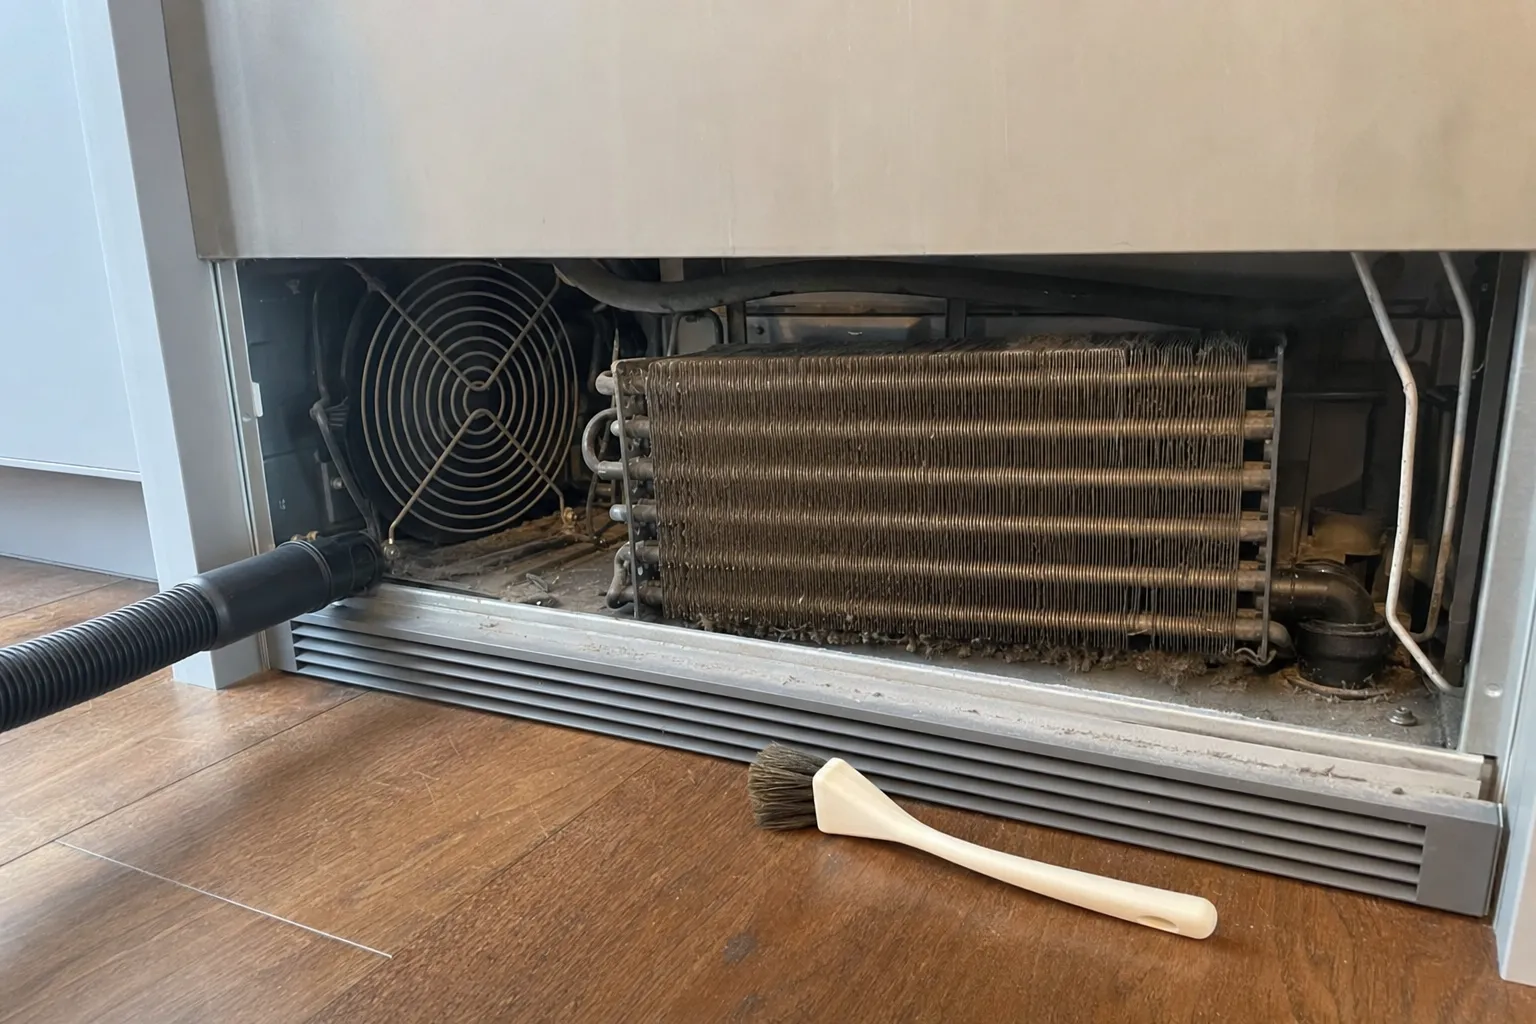
Coils come next. Near the water, the condenser breathes air that carries salt. Chlorides in that air break down the thin oxide layer that protects copper and aluminium, the metal pits, and corrosion can open pinholes that leak. In the Bowl and along the shore, that makes the condenser a place to inspect closely, not just to clean.
The evaporator (the cold coil hidden behind each compartment’s rear panel) is out of sight, and one way it gets damaged is avoidable: tubing pierced by a knife or screwdriver used to hurry ice off the coil.
Pinpointing the leak
With the leak proved, the search narrows in stages, starting with eyes and hands along every joint and bend within reach.
An electronic detector. A handheld instrument whose sensing tip reacts to refrigerant in the air. It is moved slowly, and because most refrigerants are heavier than air, the search starts high and works downward, so vapour sinking from a leak above is not mistaken for one lower down. A draught can carry the vapour away from its source, and other chemicals can set the tip off, so a reading is trusted only when the tip is taken away, allowed to clear, and reacts again at the same spot.
Bubbles. A leak-detection solution brushed onto a suspect joint keeps forming bubbles where gas is escaping. It confirms what the detector suggested, though it is harder to read between the fins of a coil.
Standing pressure with dry nitrogen. Some leaks are too slow, or too well hidden, for a detector. Then the refrigerant is recovered, the system is filled with dry nitrogen and left to stand, and a falling gauge confirms the leak while the joints are bubbled again under pressure. Nitrogen’s pressure also shifts with temperature, so a small change is judged against the room, not on its own. A vacuum is no substitute, since pulling one on a leaking system draws moisture in.
After it is found
Sub-Zero’s service manual gives the same sequence for a leak on either side of the system: recover the refrigerant, repair the leak where it sits at a soldered joint or replace the leaking part, fit a new filter-drier (the small canister that traps moisture and debris), evacuate the system (pull out air and moisture with a vacuum pump), and recharge it. The manual is firm that the filter-drier is replaced every time the sealed system is serviced.
The evacuation doubles as a last test. A system that holds its vacuum is tight. One where the vacuum keeps creeping back towards the pressure of the room still has a leak, while a reading that rises and then levels off points at moisture instead.
A leak left alone for months can make the job bigger. On a freezer, the low side can run slightly below the pressure of the room, so a leak there can pull air and moisture in rather than letting refrigerant out, and Sub-Zero’s manual handles a system contaminated by moisture as a larger repair, with a flush and an extra drier added to the list.
The search starts with the $89 service call, and any repair is priced from the sealed-system range before work begins.
What you can do, and what to leave alone
The most useful thing an owner can bring to a leak diagnosis is a record. Keep a thermometer in the fridge and one in the freezer, read them at the same times each day for a week, and note the warm days. A steady slide that ignores the weather fits a slow loss of refrigerant, though a clogging condenser can look much the same.
Keep the grille clear, with the power switched off before you take anything away from it. Beyond that, leave the machine alone: do not bend, tap or scrub at the tubing, do not pour in any product sold to stop leaks (nothing but oil and refrigerant belongs inside the loop), and never chip ice off a coil with anything sharp. When you call, say whether the unit has had a sealed-system repair before, and roughly when; it tells the technician where to look first.
Common follow-ups
Can a leak be found without opening the sealed system?
Sometimes the spot can be: an oily trace at a visible joint, or a detector reacting along tubing that can be reached, points to it while the system is still closed. Proving the charge is short needs gauges, though, and gauges need access valves soldered on. Sub-Zero Repair Edmonds begins a leak search with the $89 service call: (206) 210-3547.
If the freezer side leaks, does the fridge side lose refrigerant too?
Not on a built-in that keeps both in one cabinet. Sub-Zero cools each section of those models with its own compressor and its own sealed system, so a leak drains only the side it is on. The other section's pressures are still worth reading on the same visit, because both systems have aged together in the same kitchen.
Why did an earlier visit find no leak?
Small leaks are genuinely hard to catch. A detector can be thrown by a draught or by cleaning products nearby, and some leaks are too slow to show until the system has stood under nitrogen pressure for a while. A charge that has faded a second time is a case for that standing test, and for a close look at any fitting an earlier repair left behind.